
Setting up a business location involves far more than picking a building and hanging an open sign on the door. From the ground beneath your feet to the roof over your head, dozens of decisions determine whether your space is safe, functional, and ready to welcome customers or employees. Skipping steps or rushing through the process can lead to costly delays, code violations, or a space that simply does not work for your operations.
This checklist walks through the practical considerations that matter most, so you can approach your project with confidence rather than guesswork.
- Understanding Your Property Before You Build
- Planning Roads, Parking Lots, and Walkways
- Shaping the Grounds Around Your Building
- Choosing and Preparing Your Interior Space
- Making Sure Customers Can Find You
- Protecting People and Property with the Right Systems
- Weatherproofing Your Building from Top to Bottom
- Keeping Construction and Renovation Sites Functional
- Setting a Realistic Timeline and Budget
Understanding Your Property Before You Build
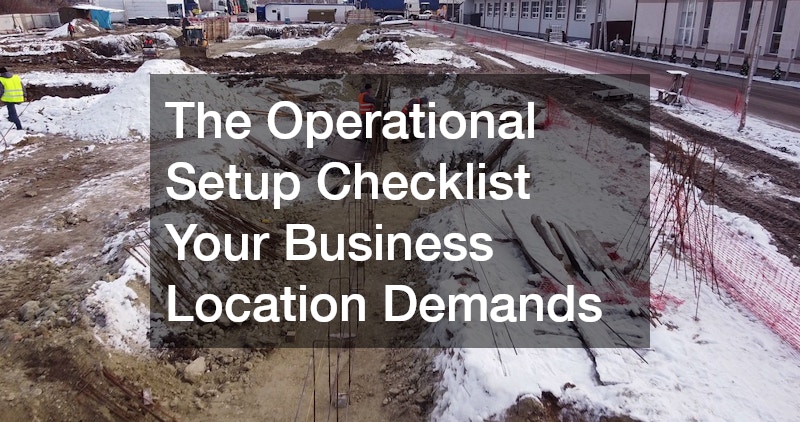
Before any construction begins, you need a clear picture of the land you are working with. A licensed land surveyor identifies property boundaries, easements, and elevation changes that could affect your building plans. Skipping this step can lead to expensive surprises later, such as discovering your parking lot encroaches on a neighboring lot or that utility easements block your intended entrance.
Not all surveys are created equal, so it pays to know which type your project requires. An ALTA/NSPS survey, often demanded by lenders and title companies, provides a comprehensive look at boundaries, improvements, and recorded easements, while a topographic survey maps elevation changes that affect drainage and foundation design. Budgeting $500 to $2,500 for a standard boundary survey, or more for larger commercial parcels, is far cheaper than relocating a structure after the fact.
Beyond boundaries, a thorough site assessment should include soil testing to confirm the ground can support your foundation type, along with a check of local zoning setbacks and floodplain designations. Utility locates are also essential, since underground gas, water, or fiber lines can dictate where you can safely dig or pour concrete. Building these steps into your pre-construction timeline, typically two to six weeks depending on parcel complexity, keeps permitting and financing on schedule.
A topographic survey maps elevation changes across the property, typically in one- or two-foot contour intervals, so engineers can calculate how water will move during heavy rain. This data directly shapes foundation design: a site with more than a 2% grade toward the building may need retaining walls, French drains, or a raised slab to prevent pooling. Soil borings or a geotechnical report, usually costing $1,500 to $5,000 depending on site size, reveal load-bearing capacity and identify issues like expansive clay or high water tables that could compromise a standard foundation.
Many municipalities won’t issue a building or grading permit without a current survey, sometimes requiring one completed within the past six to twelve months. An ALTA/ACSM survey, which combines boundary, topographic, and utility data into a single document, is often the standard lenders and city planners expect for commercial builds. Skipping this step, or relying on an outdated survey from a prior owner, is one of the most common reasons permit applications get bounced back for revision.
Getting accurate data early — before architectural drawings are finalized — prevents costly redesigns down the line. A foundation plan drawn without proper soil and drainage data can require rework mid-construction, adding weeks to the schedule and thousands of dollars in change orders. Budgeting four to six weeks upfront for surveying and soil testing is far cheaper than discovering a drainage problem after the slab is poured.
- Confirm exact property lines and setback requirements via a licensed survey, not just the county plat map or old fence lines
- Verify local zoning setbacks (often 10-25 feet from front, side, and rear lines) since requirements vary by district and building type
- Identify easements for utilities, drainage, or shared access by pulling a title report or survey showing recorded easements
- Note that utility easements can restrict where you build, pave, or plant, even on land you own outright
- Check flood zone status through FEMA flood maps and obtain an elevation certificate if the property sits in a Special Flood Hazard Area
- Factor in flood insurance costs and elevation requirements early, since they can significantly affect construction budgets
- Verify topography for grading and drainage planning by reviewing soil composition, slope percentage, and natural water flow patterns
- Consult a civil engineer if the site has slopes over 5% or known drainage issues, to avoid costly regrading or erosion problems later
Planning Roads, Parking Lots, and Walkways
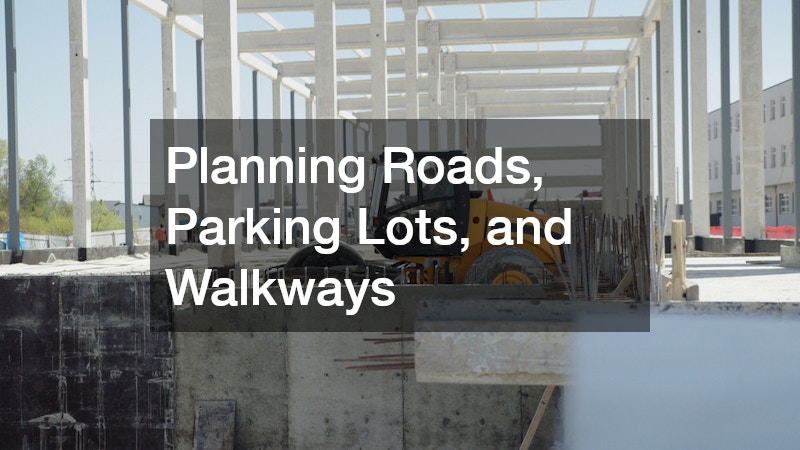
Once your site boundaries are confirmed, attention turns to how people and vehicles will move across your property. Durable pavement matters for safety, accessibility, and first impressions, especially in areas with heavy foot or vehicle traffic. Many contractors offer commercial and residential asphalt paving, which means the same crews building your parking lot can also handle driveways or shared access roads if your property includes mixed-use elements.
Pavement choices affect long-term maintenance costs, so it helps to think beyond the initial installation. Proper base preparation, drainage slope, and sealing schedules extend the life of your lot and reduce cracking. Cutting corners here often results in premature repairs within just a few years.
- Plan for ADA-compliant curb cuts and accessible parking
- Include proper drainage slopes to avoid standing water
- Budget for sealcoating every two to three years
- Mark fire lanes and loading zones clearly
Shaping the Grounds Around Your Building
Landscaping is not just decoration; it plays a functional role in stormwater management, shade, and how welcoming your property feels to visitors. Working with commercial landscape services early in the process allows plant beds, irrigation lines, and drainage swales to be coordinated with the building and paving plans rather than added as an afterthought. This coordination avoids conflicts between sprinkler lines and underground utilities.
Well-planned grounds also reduce long-term maintenance headaches. Choosing native, low-water plants and grouping them by sunlight needs cuts down on irrigation costs and replacement expenses. A tidy, professional exterior signals to customers that the business inside is equally well managed.
- Group plants by water and sunlight requirements
- Coordinate irrigation with underground utility lines
- Include seasonal color near entrances for visual appeal
- Plan for snow storage areas if you are in a colder climate
Choosing and Preparing Your Interior Space
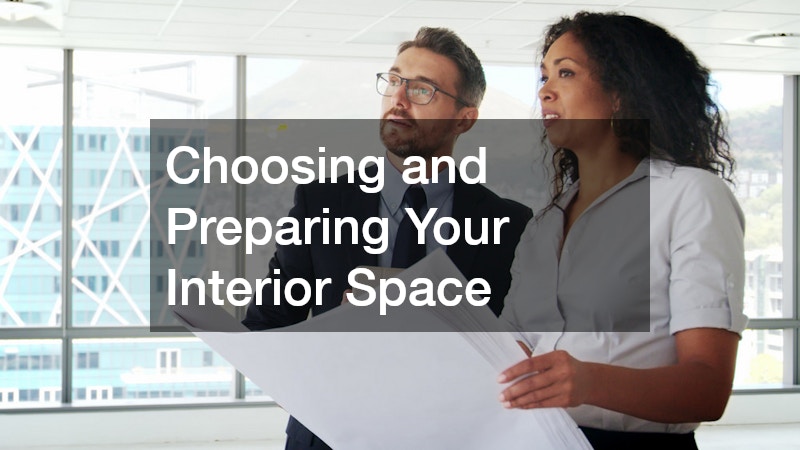
The interior layout of your building has a direct impact on productivity, customer flow, and employee comfort. How you divide space between workstations, meeting rooms, storage, and common areas will shape daily operations far more than most business owners anticipate before move-in day.
If you are leasing rather than owning, an office space rental gives you flexibility to scale up or down as your business changes, without the long-term commitment of ownership. Many commercial leases now offer terms as short as one to three years, along with expansion clauses that let you claim adjacent square footage if it becomes available. This flexibility is especially valuable for growing companies that are not yet sure how much square footage they will need in five years.
Before signing anything, walk the space with a checklist that covers electrical capacity, HVAC zoning, and natural light distribution across departments. Consider how many employees will need dedicated desks versus shared or hot-desking arrangements, since this ratio directly affects your square-footage requirements and monthly cost. A general guideline is 100 to 150 square feet per employee for standard office work, though open layouts and collaborative spaces can shift that number significantly.
Once a space is secured, most businesses require some level of customization to fit their operations. Commercial upfits cover everything from reconfiguring walls and adding plumbing to installing specialized electrical circuits for equipment like walk-in coolers, industrial ovens, or server racks. Even a modest 1,500-square-foot retail space can easily require $20,000 to $75,000 in upfit costs, depending on local permitting fees and the complexity of the buildout.
Before signing off on any design, confirm whether the landlord offers a tenant improvement allowance, since this can offset a significant portion of construction costs. Get at least three contractor bids and request a line-item breakdown covering materials, labor, and permit fees separately.
Planning these changes with a clear budget, a contingency reserve of 10-15%, and a realistic timeline prevents scope creep and keeps renovation costs from spiraling. Build in buffer weeks for inspection delays and material backorders, both of which routinely push commercial buildouts past their original completion date.
- Map employee workflow before finalizing floor plans, tracing how staff move between workstations, storage, and customer areas to avoid bottlenecks
- Note high-traffic zones like point-of-sale or shared equipment and keep pathways at least 36 inches wide for smooth movement
- Reserve space for storage, breakrooms, and restrooms, sizing each to headcount rather than leftover square footage
- Budget roughly 15-20 square feet per employee for breakroom seating and shelving depth for inventory turnover
- Plan electrical and data needs around equipment placement, mapping outlet counts, voltage requirements, and network drops before walls close
- Include dedicated circuits for heavy equipment and surge protection for computers, POS systems, or servers
- Confirm ADA compliance for doorways, restrooms, and counters, checking clearances like 32-inch minimum door widths and 27-inch knee clearance under counters
- Verify grab bar placement, turning radius in restrooms, and accessible route signage meet current local building codes
Making Sure Customers Can Find You
A great location does little good if people cannot find it. Well-designed business signs improve visibility, reinforce brand identity, and help first-time visitors navigate to your entrance without confusion. Local sign codes often dictate size, lighting, and placement, so it is worth checking regulations before ordering anything custom.
Beyond the main storefront sign, consider directional and wayfinding signage for larger properties. Parking lot signs, entrance markers, and accessible parking signage all contribute to a smoother visitor experience. Clear signage also reduces liability by marking hazards like low clearances or restricted areas.
- Check local zoning rules for size and illumination limits
- Include directional signs for larger or multi-building sites
- Use reflective materials for nighttime visibility
- Update signage promptly if branding or hours change
Protecting People and Property with the Right Systems

Safety systems are not optional line items; they are requirements that protect your employees, customers, and physical assets. A properly installed fire alarm system, tested and maintained according to code, is one of the most important investments you can make in a commercial building. Local fire codes typically dictate detector placement, alarm decibel levels, and monitoring requirements based on square footage and occupancy type.
Larger installations, such as HVAC units, signage, or heavy equipment, often require specialized rigging services to move and position safely. Rigging work involves careful load calculations and coordination with structural engineers to avoid damaging the building or injuring workers. Attempting to move heavy equipment without proper rigging expertise is one of the more common and preventable causes of jobsite accidents.
- Schedule annual fire alarm inspections and testing
- Confirm monitoring service connects to local emergency dispatch
- Use certified riggers for any equipment over standard lifting capacity
- Keep documentation of all safety inspections on file
Weatherproofing Your Building from Top to Bottom
The roof is one of the most expensive components of any commercial building, and its condition affects everything underneath it. Quality commercial roofing protects inventory, equipment, and interior finishes from water damage while also influencing energy efficiency. Flat roofs common on commercial buildings require different maintenance schedules than the sloped roofs typical of residential construction, so it is worth understanding which system your building uses.
Regular inspections catch small issues, like ponding water or membrane wear, before they become expensive leaks. Many roofing warranties require documented maintenance to stay valid, so keeping records of inspections and repairs matters. Planning for roof replacement costs in advance also helps avoid emergency budgeting when a system finally reaches the end of its lifespan.
- Schedule inspections at least twice a year, especially after storms
- Check warranty terms for required maintenance documentation
- Address ponding water issues promptly to prevent membrane damage
- Budget for eventual replacement based on roof age and material
Keeping Construction and Renovation Sites Functional
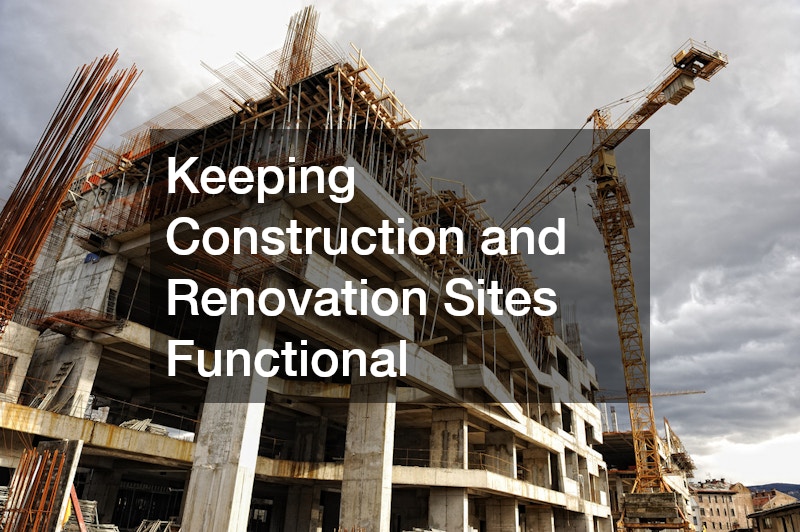
During the construction or renovation phase, basic amenities for workers are easy to overlook but legally required in most areas. Arranging porta potty rentals in the early planning stages ensures crews have proper sanitation from day one, which keeps the project compliant with OSHA regulations. Placement matters too, since units should be accessible but positioned away from main work areas and public views.
Beyond sanitation, sites need clear staging areas for materials, temporary fencing for security, and designated parking for subcontractors. A well-organized site reduces delays caused by workers searching for equipment or materials. Taking time to plan logistics before breaking ground keeps the project moving efficiently.
- Confirm sanitation unit count based on average worker headcount
- Schedule regular servicing to maintain cleanliness standards
- Position units away from public sightlines but within easy reach
- Coordinate delivery and pickup dates with your overall project timeline
Setting a Realistic Timeline and Budget
Every step covered so far comes with its own timeline, and delays in one area often ripple into others. Permitting alone can take weeks or months depending on your municipality, so building in buffer time is essential rather than optimistic guesswork. A realistic schedule accounts for weather delays, inspection scheduling, and material lead times that are common in commercial construction.
Budgeting should include a contingency fund, typically ten to fifteen percent of total project costs, to absorb unexpected expenses. Getting multiple quotes for major categories like paving, roofing, and interior buildout helps you spot outliers and negotiate fairly. A clear budget also makes it easier to prioritize which upgrades happen now versus later if funds run tight.
- Build in buffer time for permitting and inspections
- Set aside a contingency fund of ten to fifteen percent
- Get at least three quotes for major project categories
- Track expenses against budget weekly during active construction
Setting up a business location involves many moving parts, but breaking the process into clear stages makes it far more manageable. From confirming property lines to finalizing safety systems and finishing touches, each step builds on the last to create a space that works safely and efficiently. Take time to research local requirements and consult qualified professionals for each phase rather than rushing toward an opening date. A methodical approach now will save you time, money, and stress once your doors are open for business.